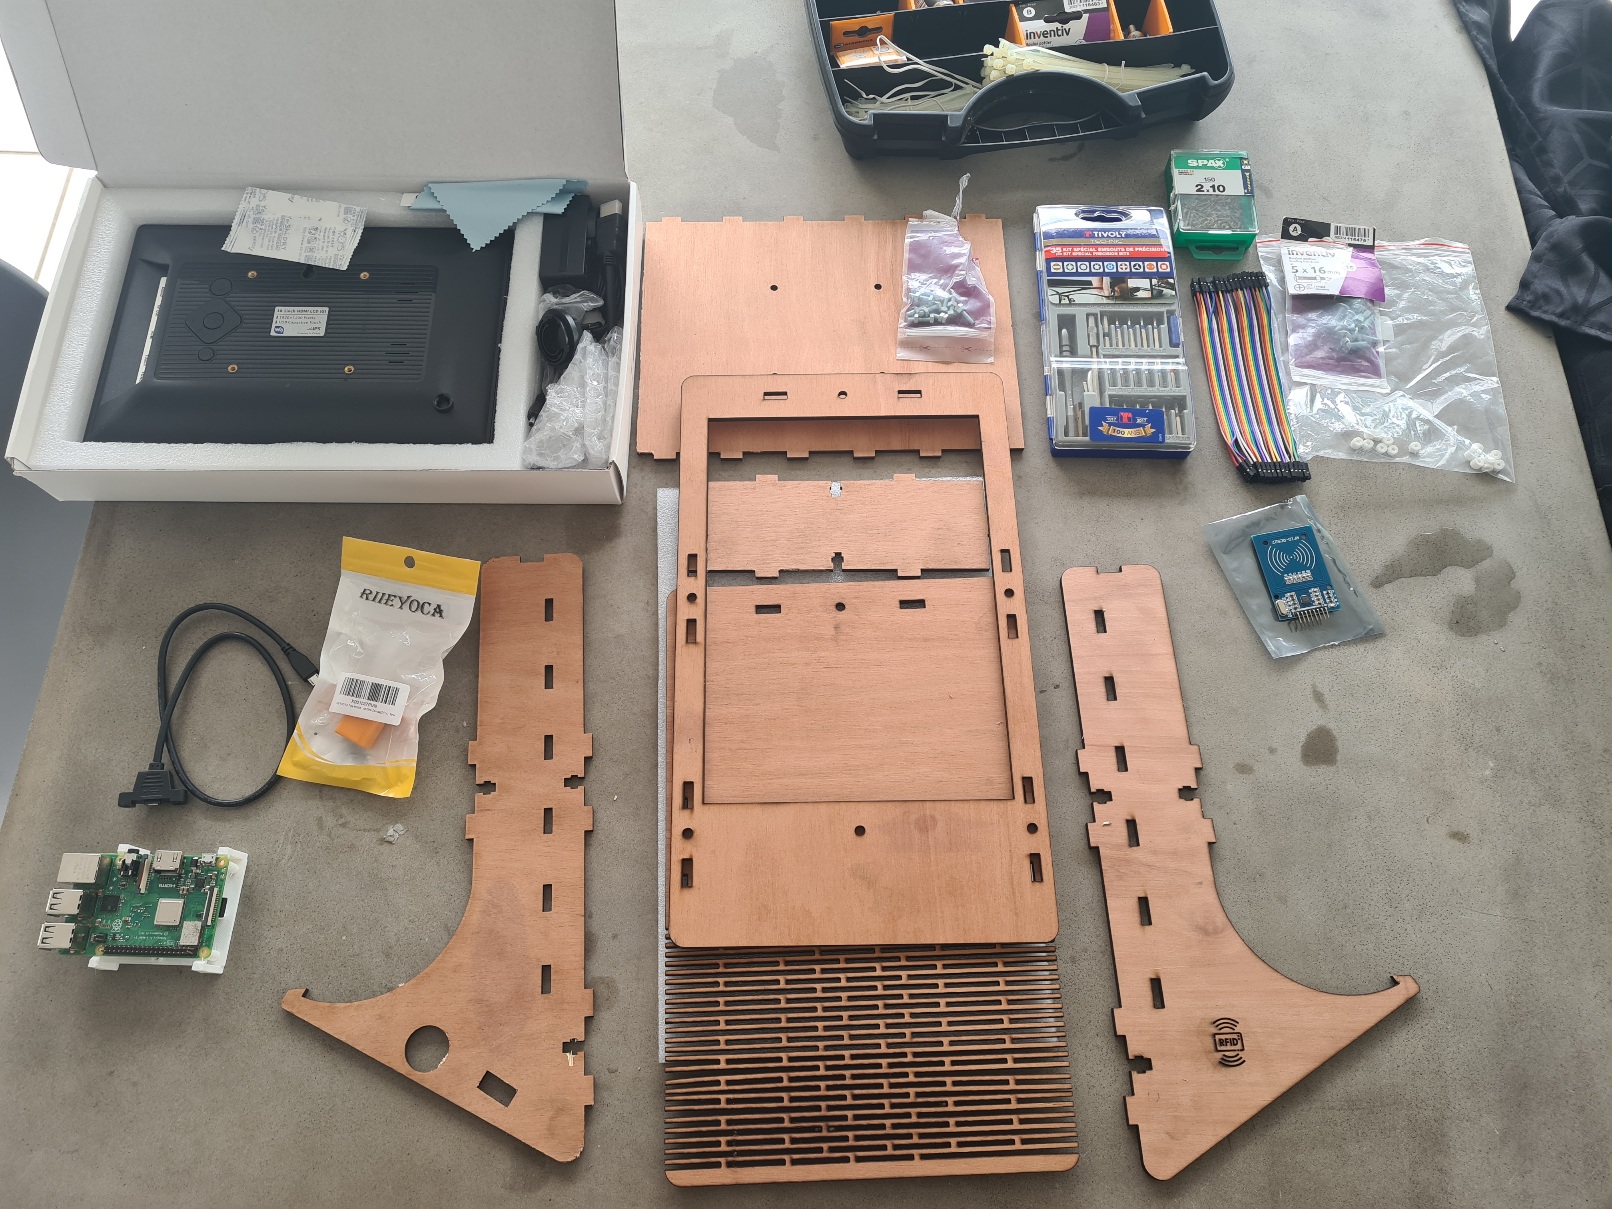
Body assembly 10inch :
The assembly procedure remains more or less the same as 7inch back fix, so we'll go through it more quickly .
The main difference is the screen mounting system,
but remember:
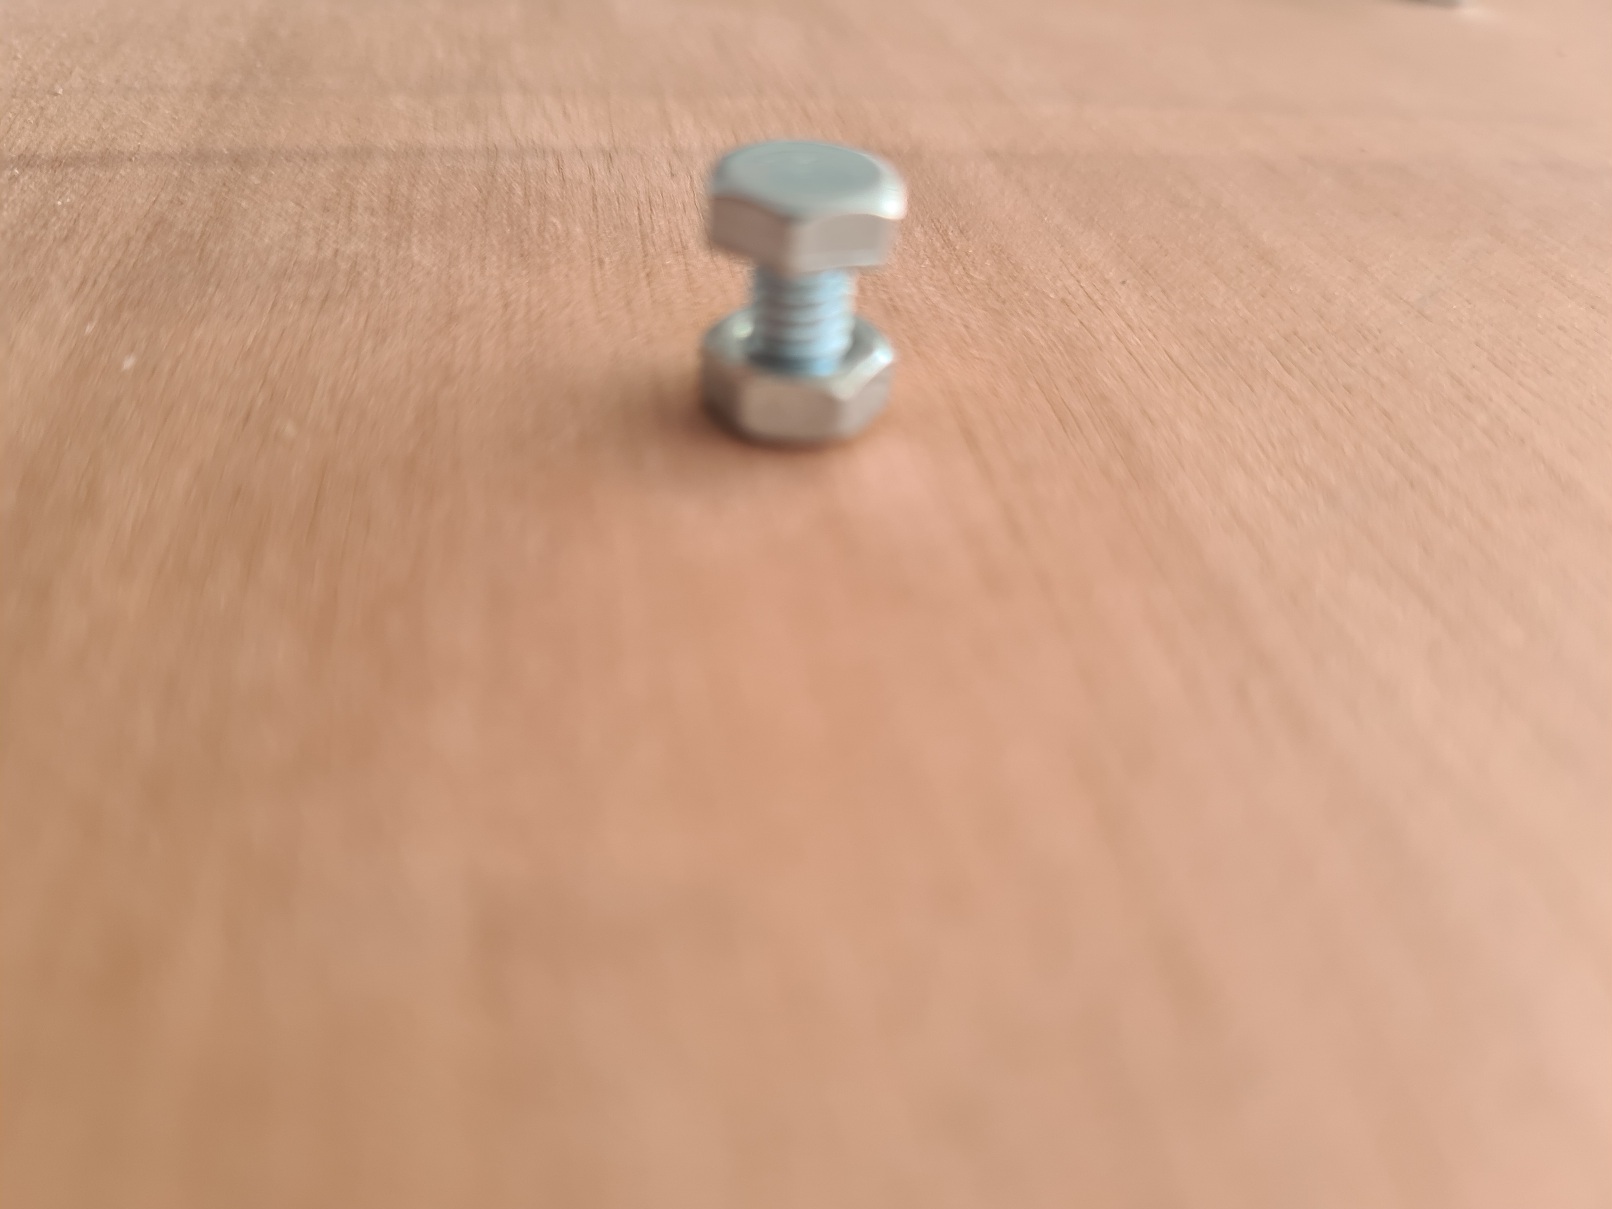
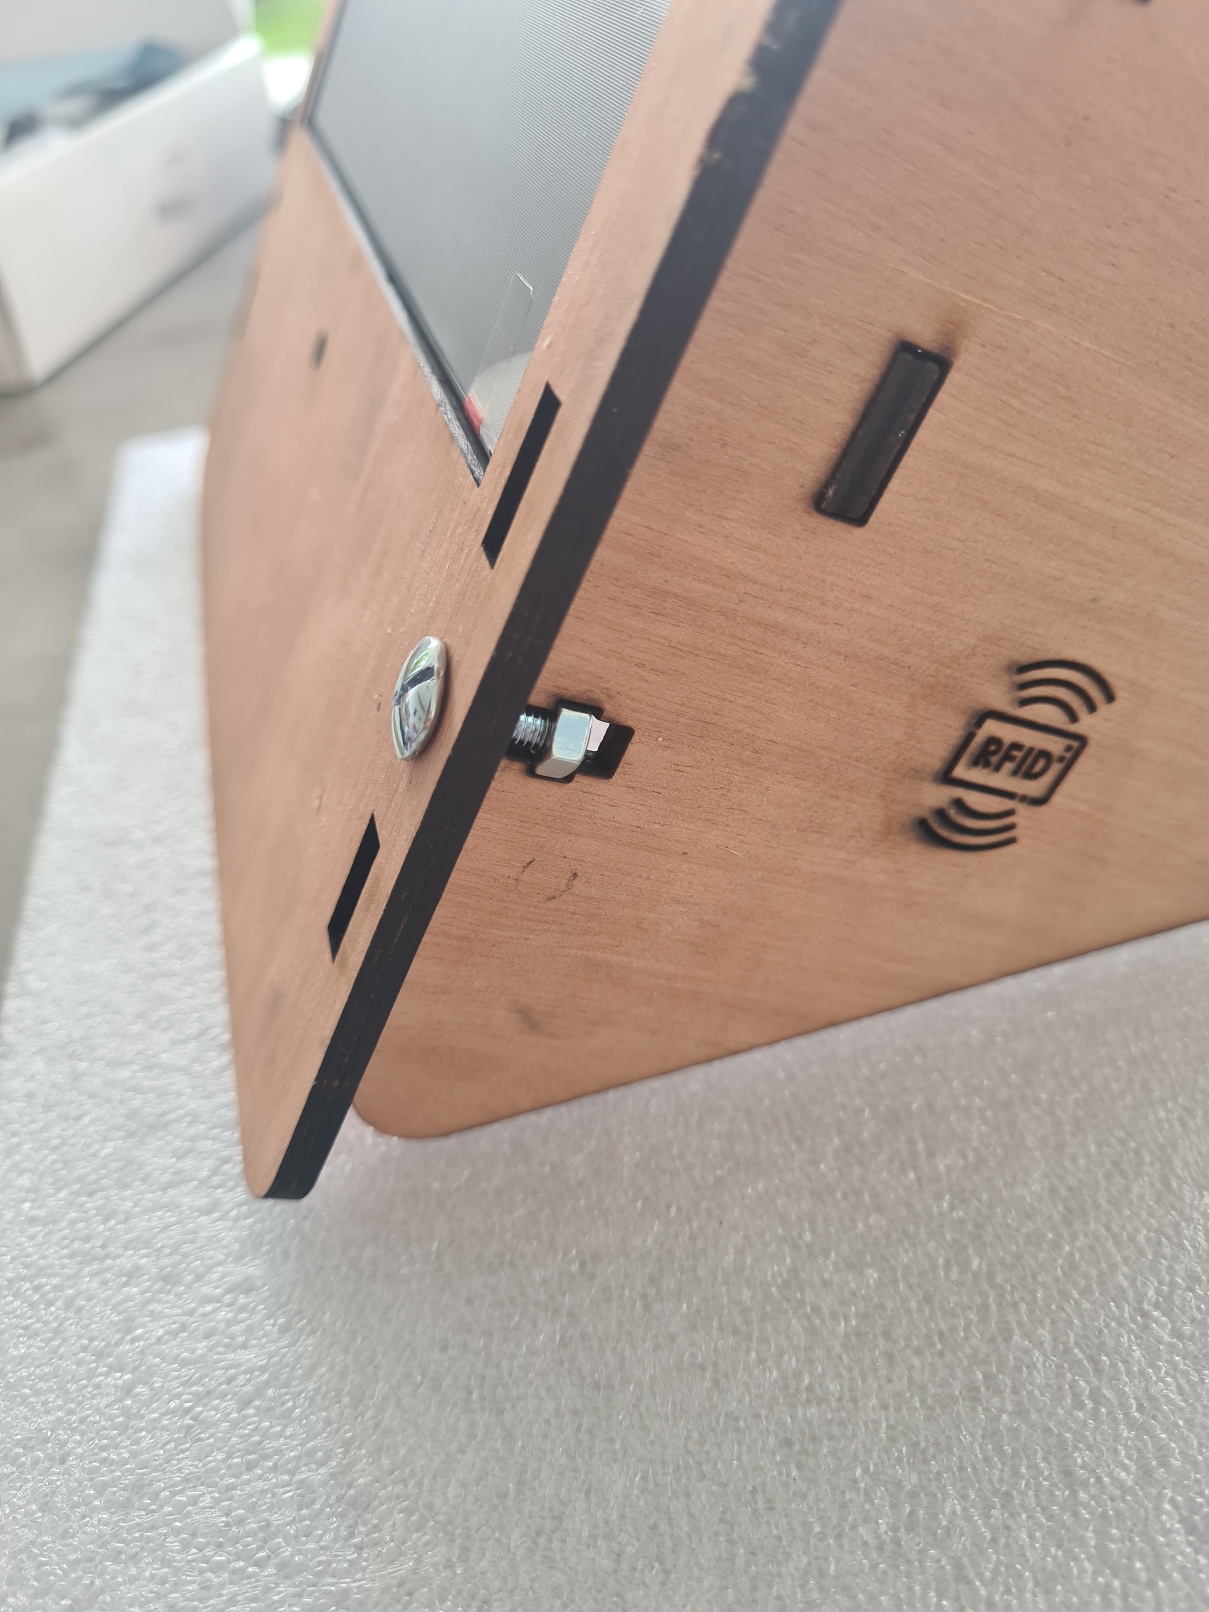
- don't overtighten the Roofing bolt & nut 5X16
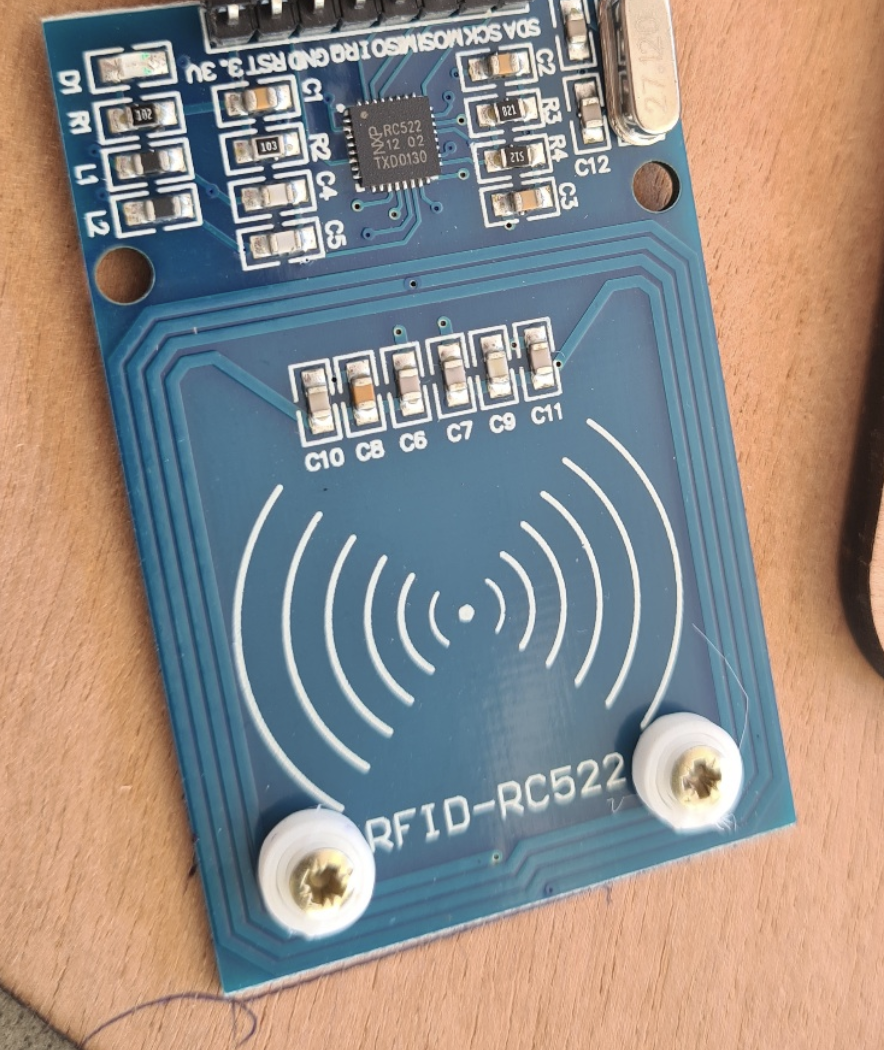
- Use spacers to fix the NFC card.
Note: you'll need an additional USB-MicroUSB cable, because this time it's not the Pi that powers the screen, but the screen that powers the Pi.
-
Place the screen on the foam :
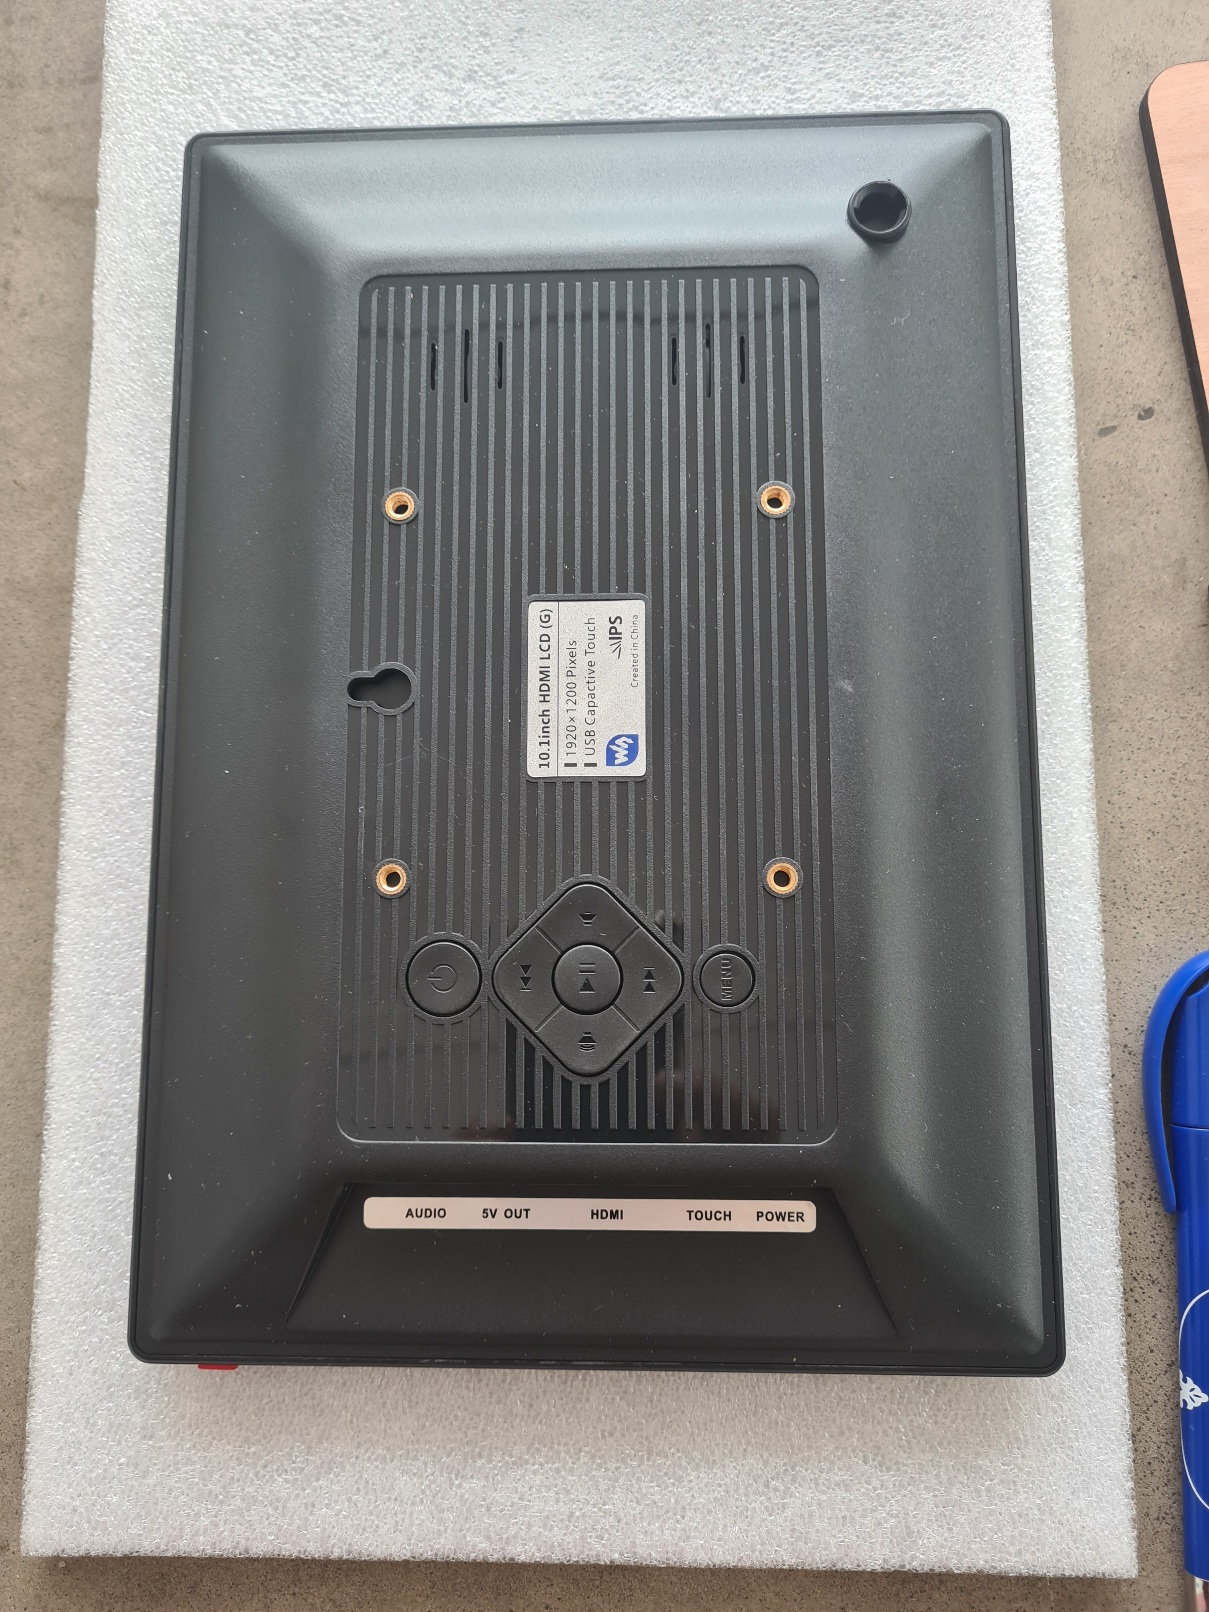
-
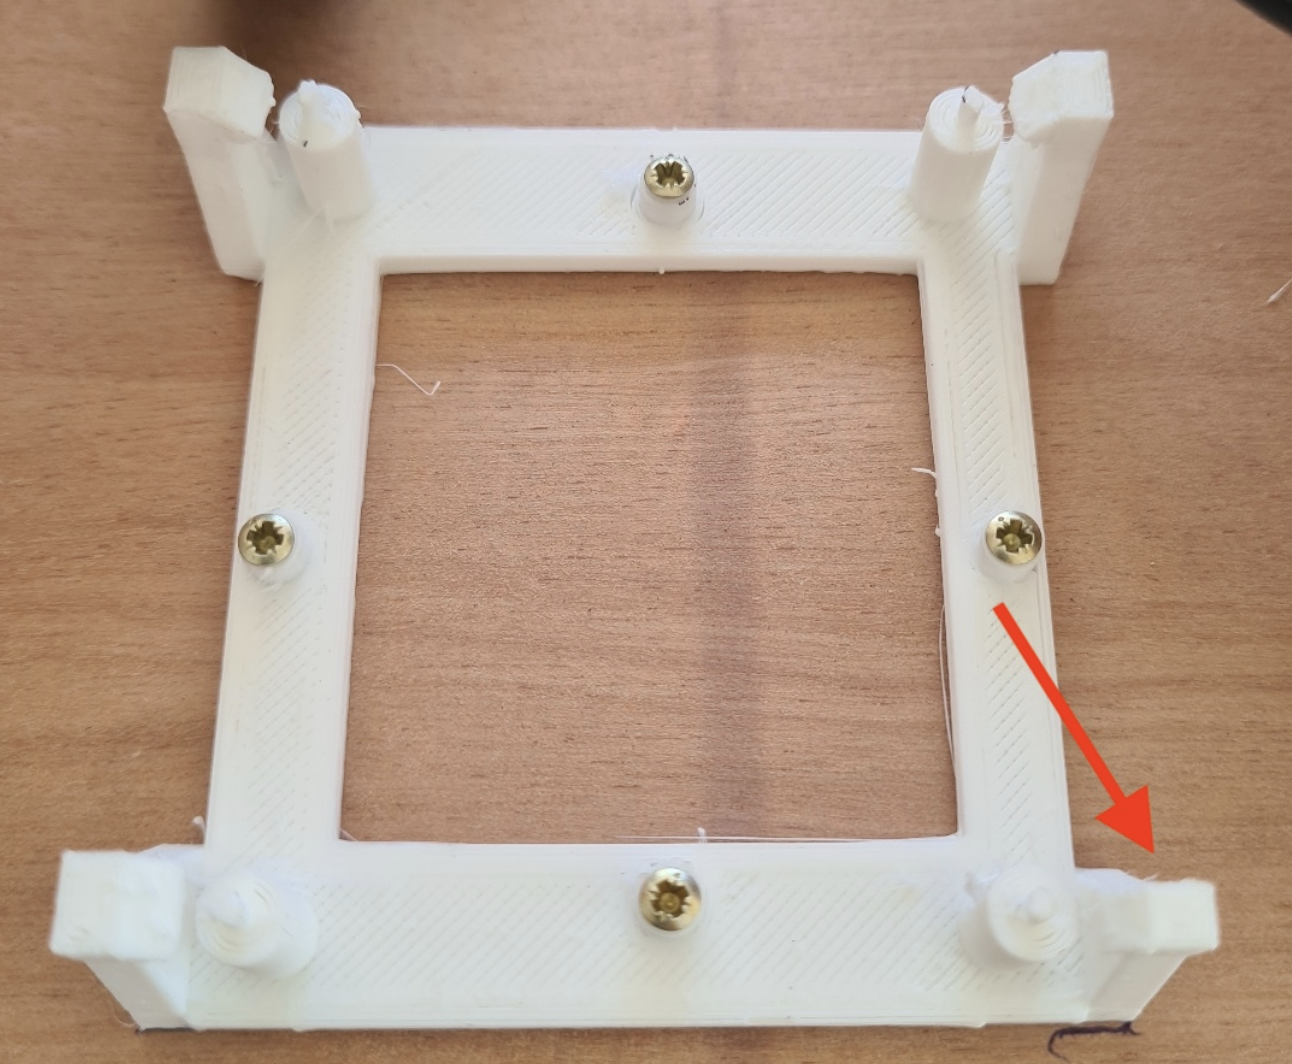
Attach the "VESA" plate :
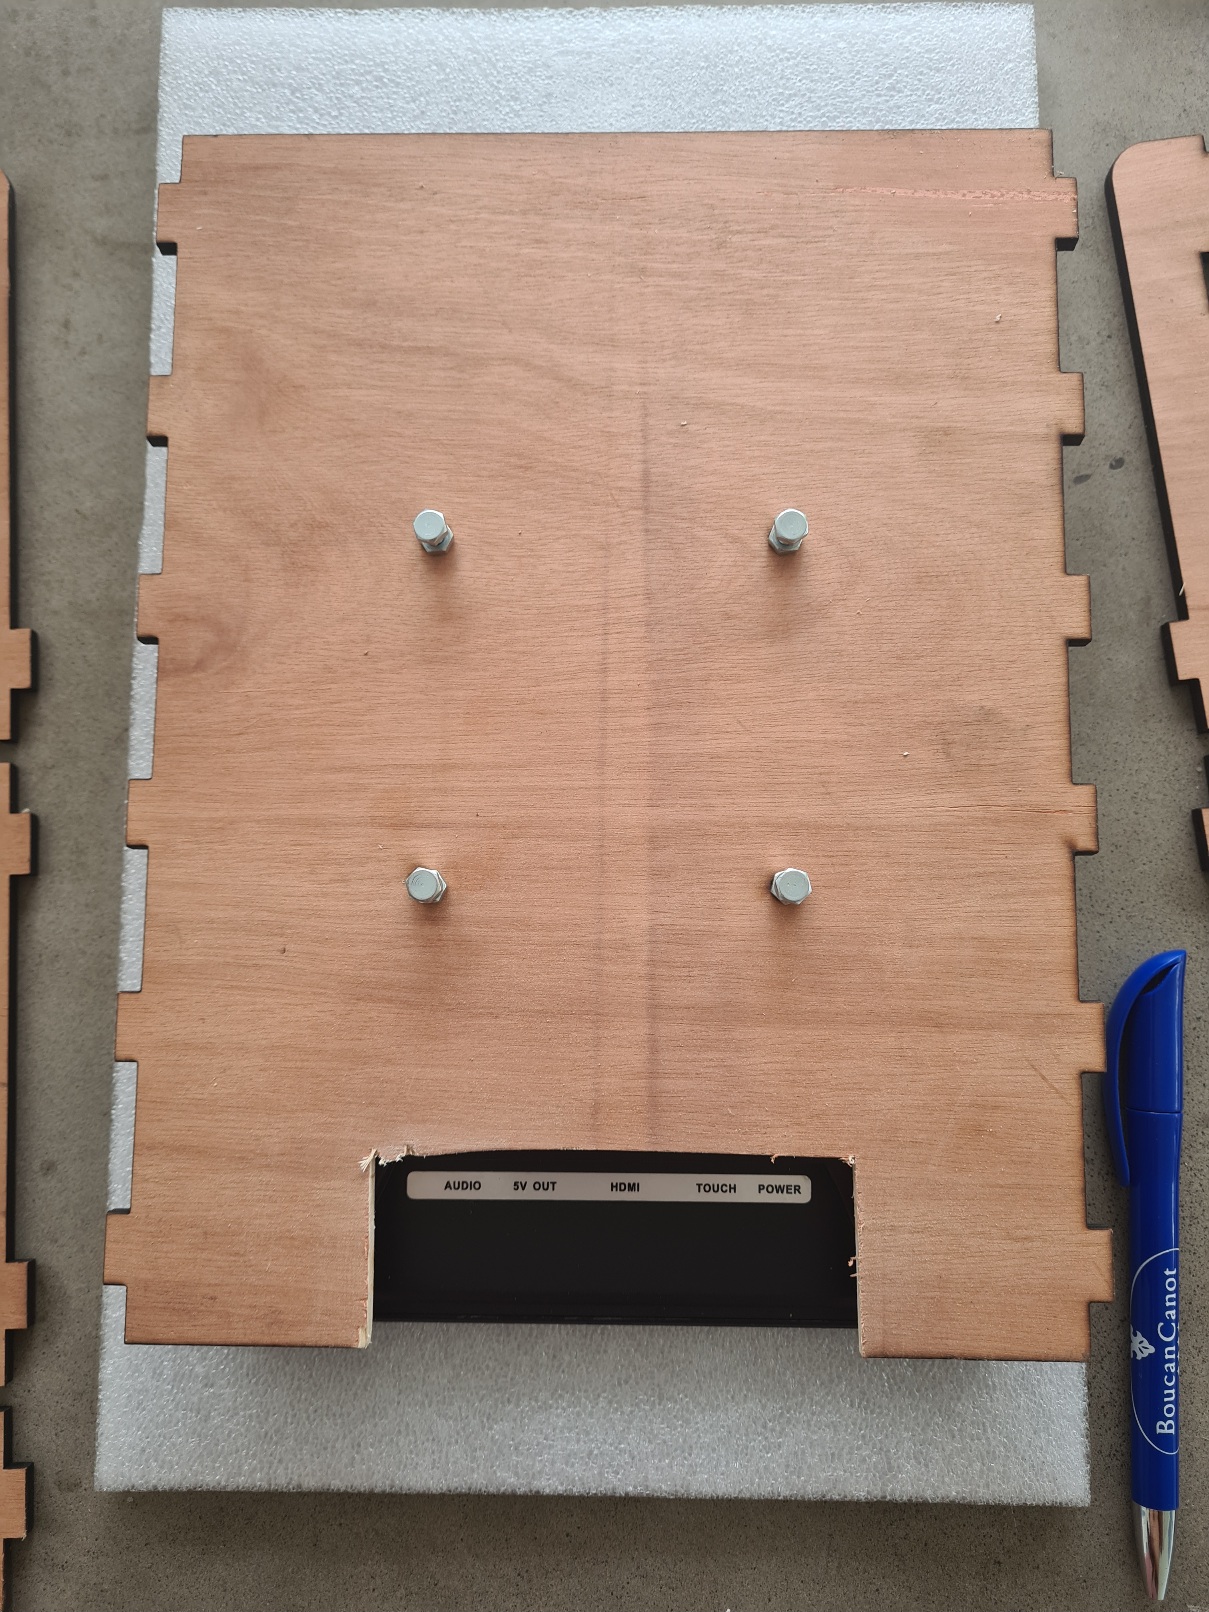
Note: If, like me, the screws you have are too long, use the screw nuts:
Be careful not to tighten it too much, as this could press the buttons on the back of the screen.
-
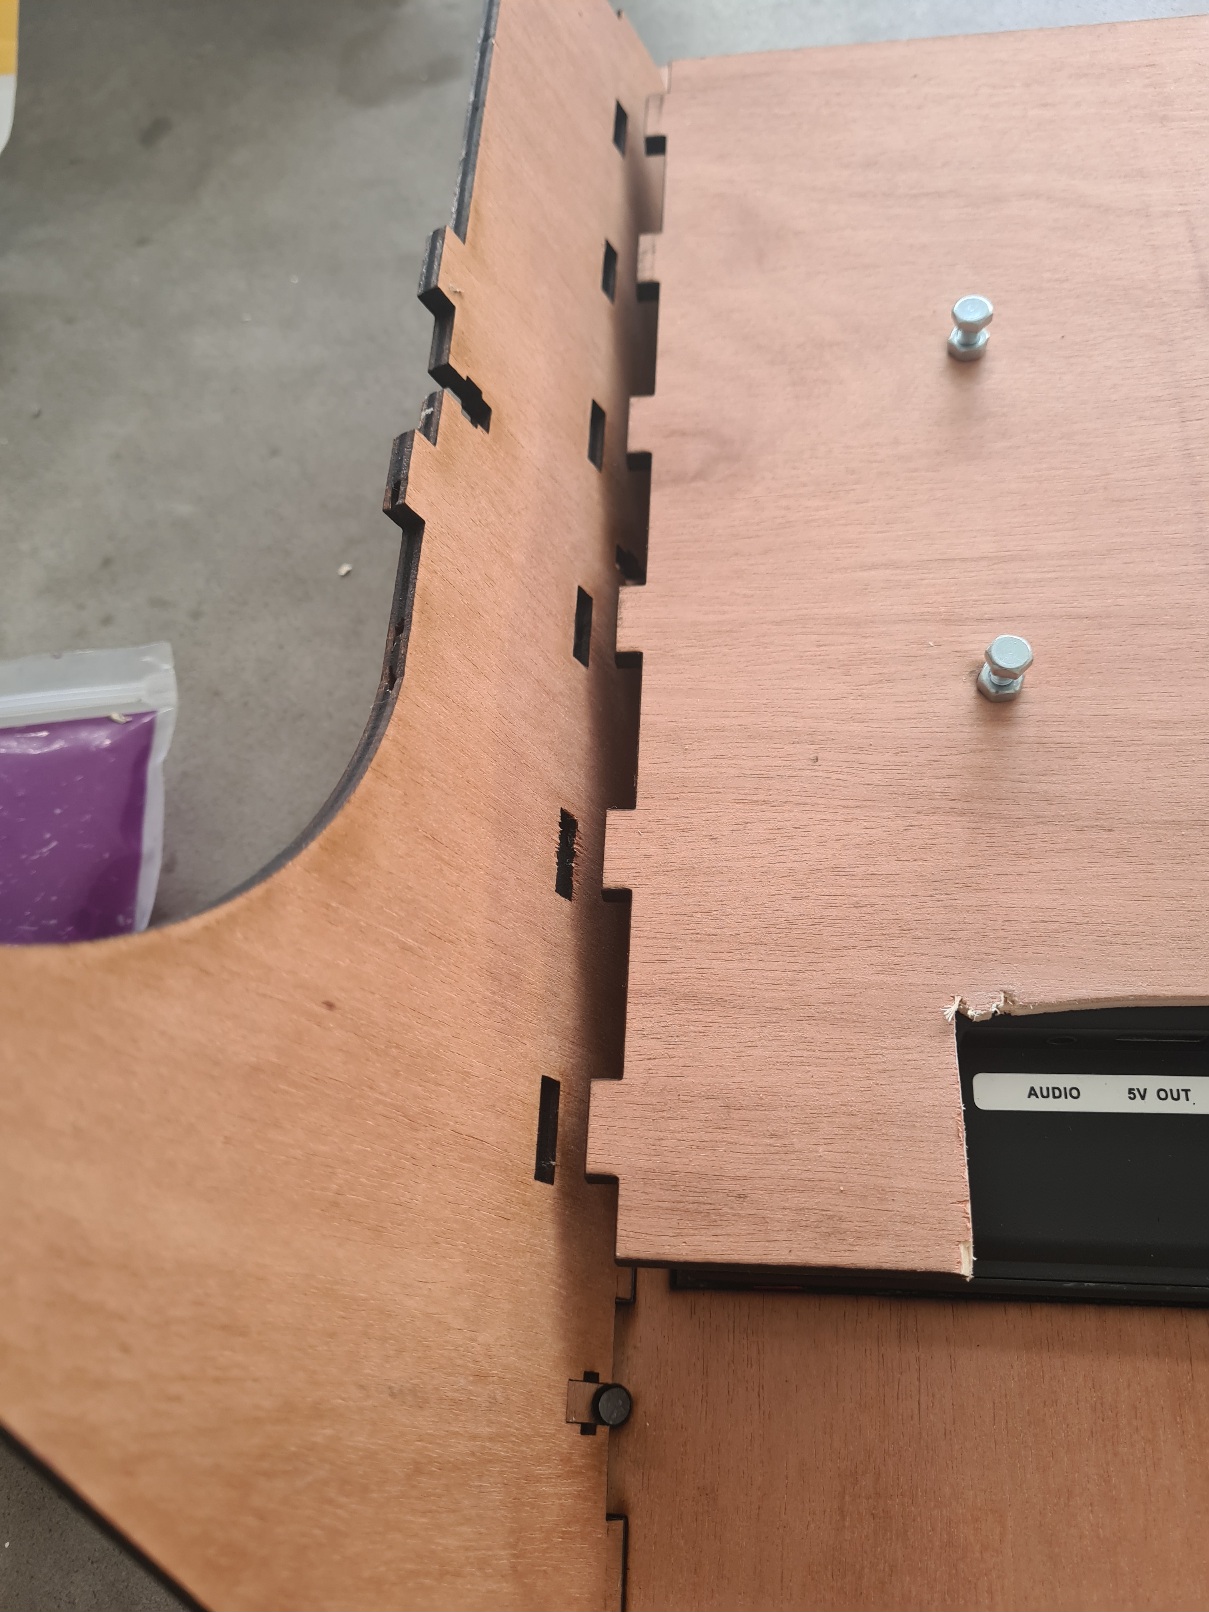
Place the sides in the notches on the front panel and on the VESA plate :
-
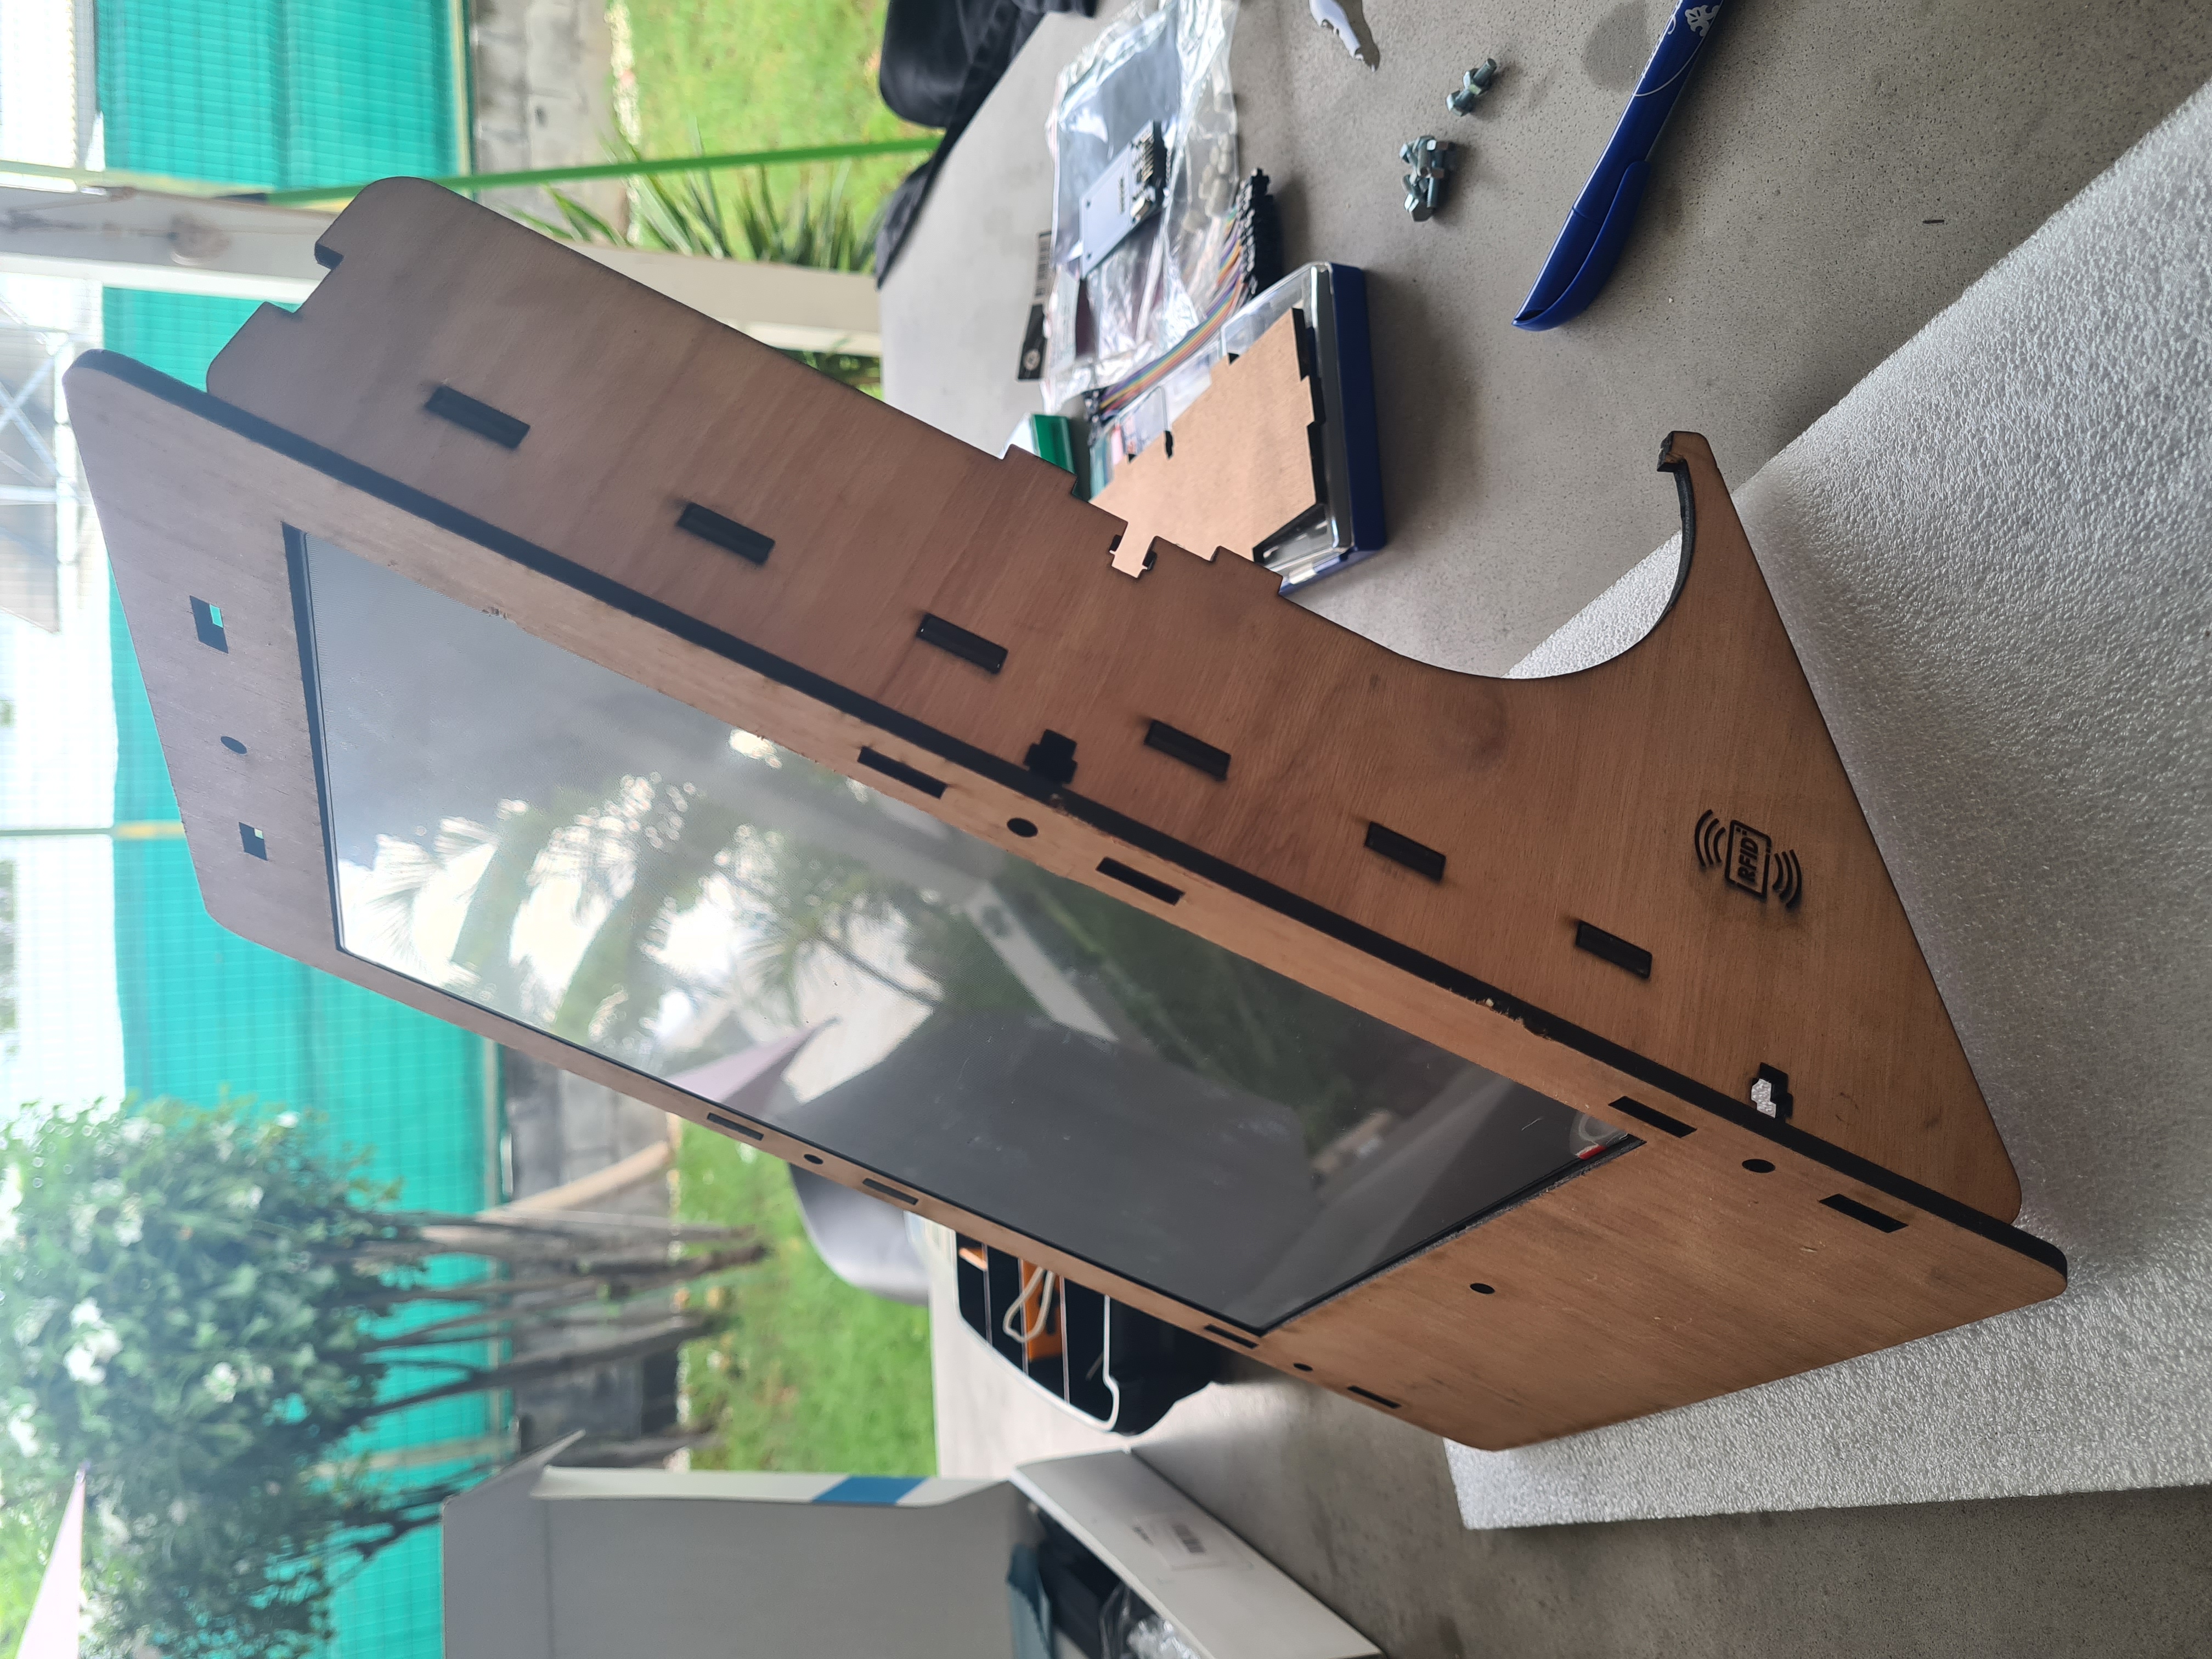
Take the assembly, taking care that the parts do not come loose, then position it normally :
-
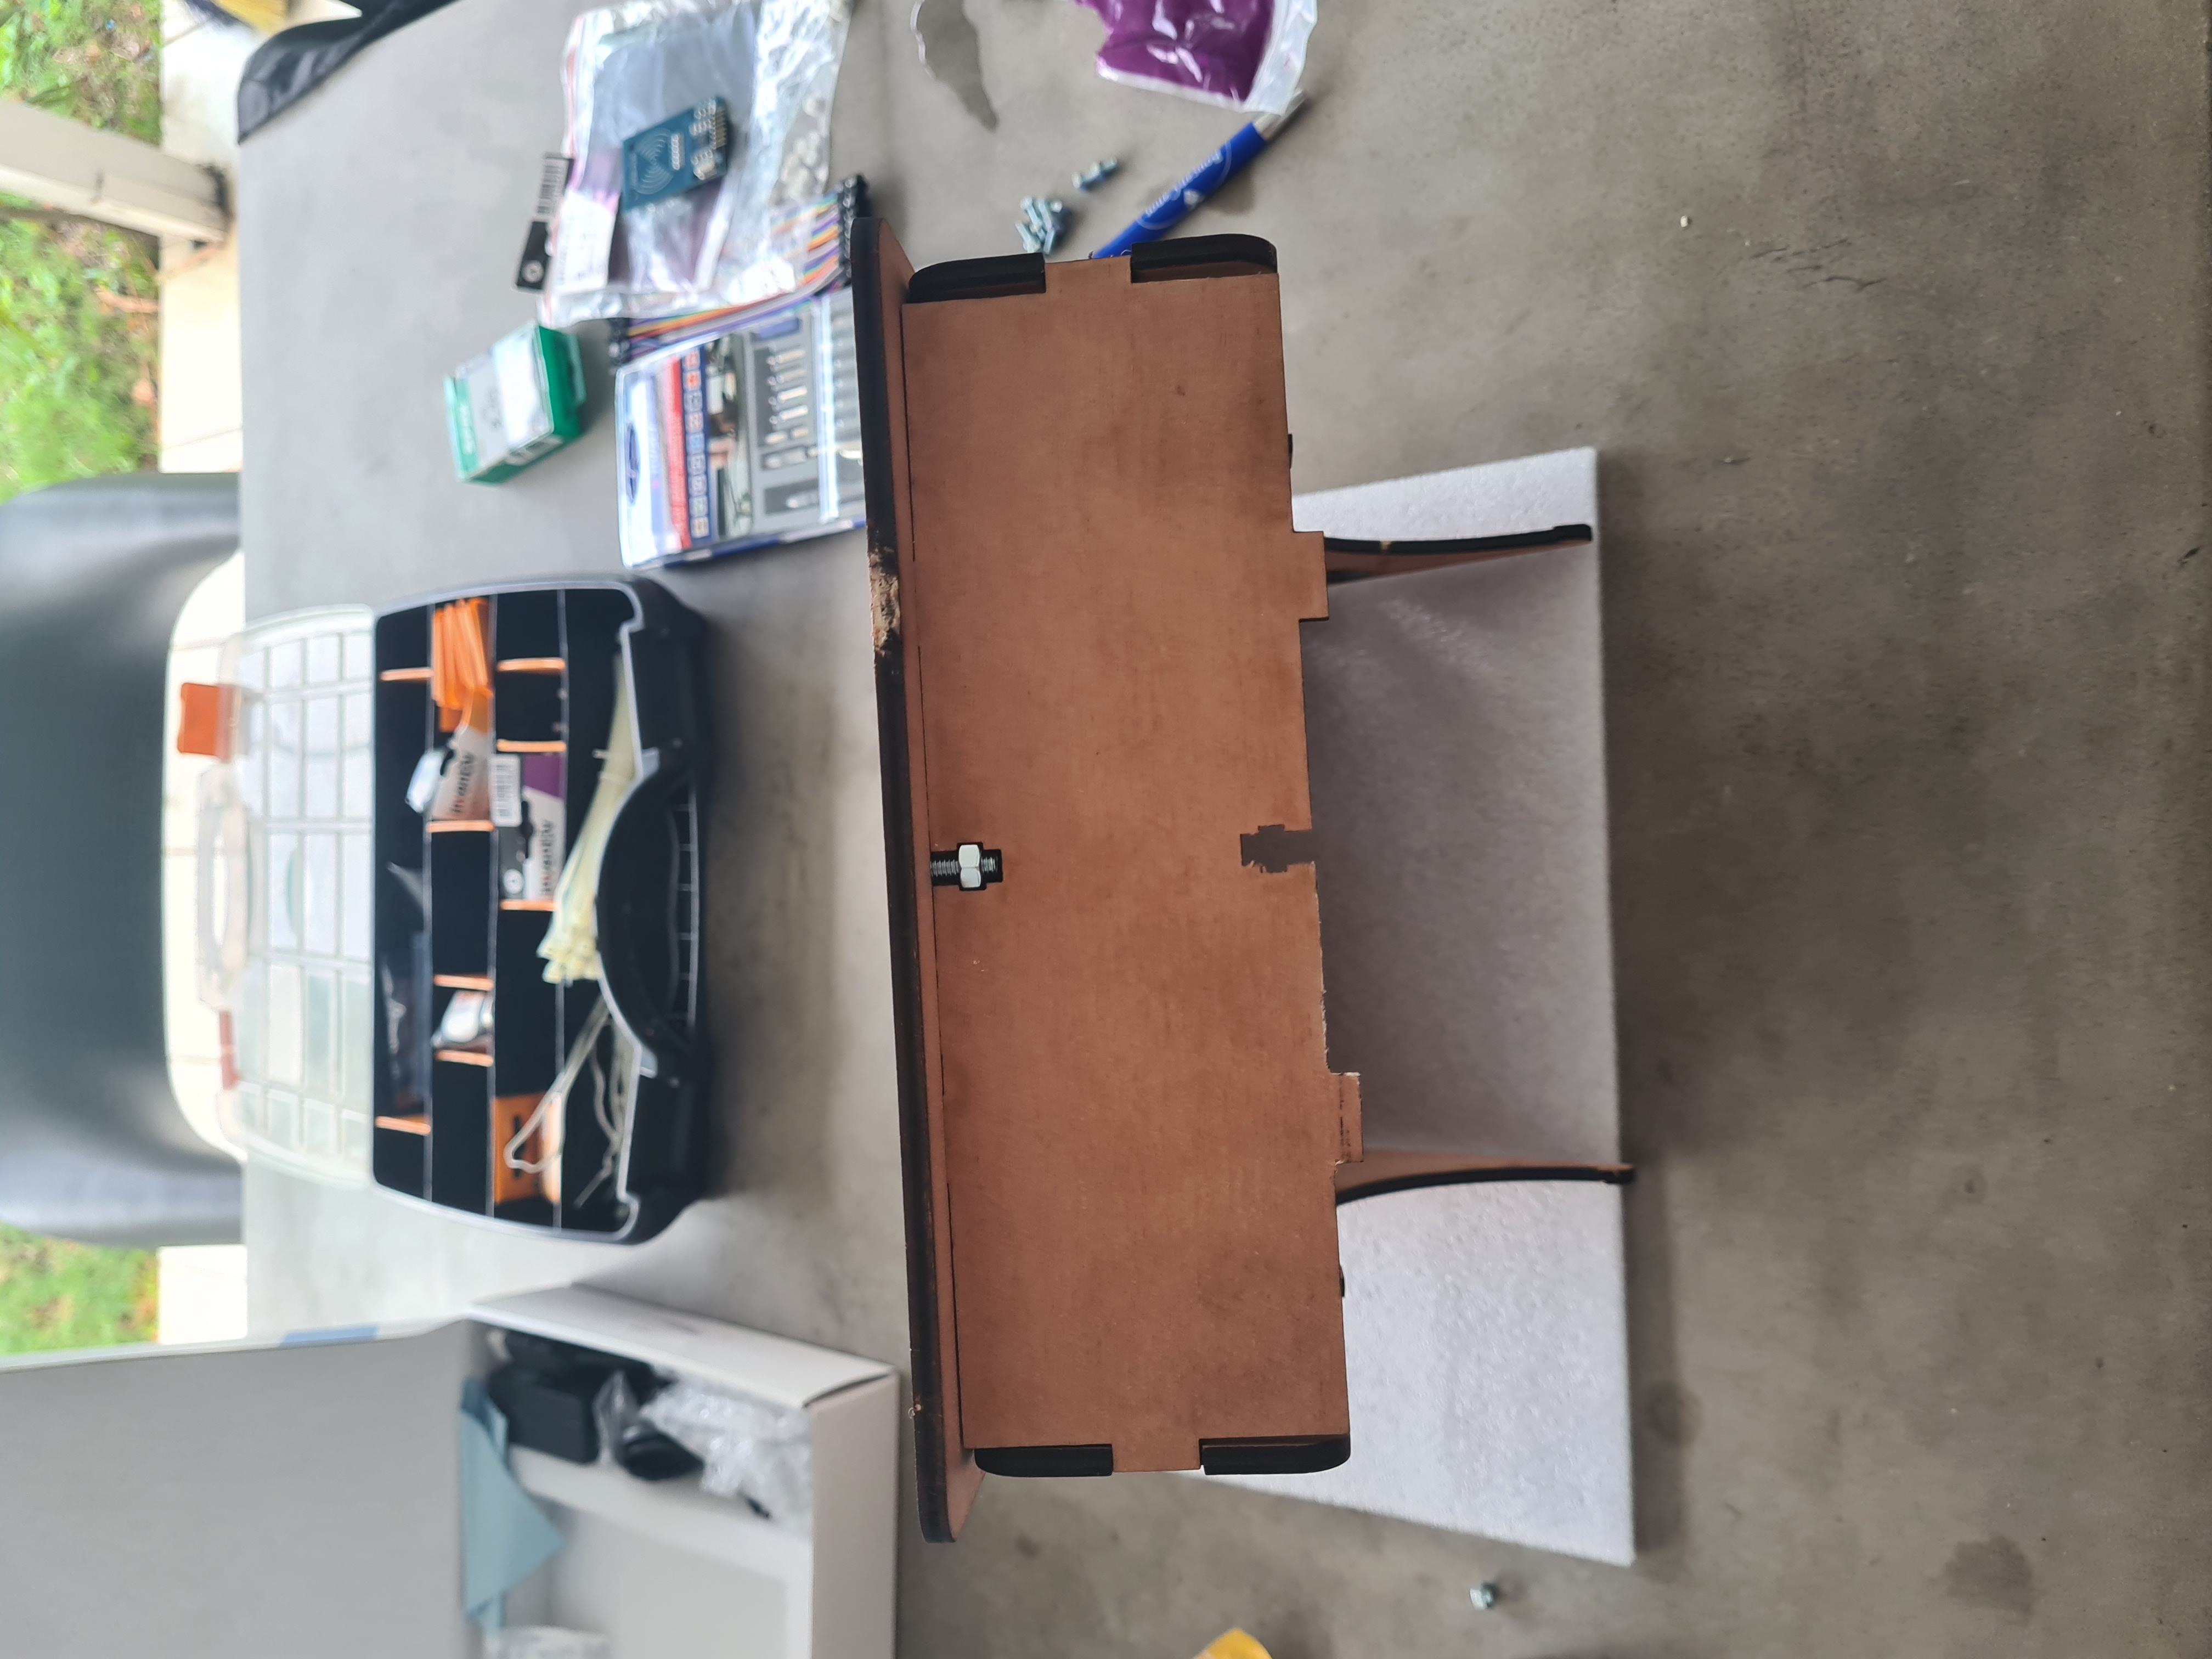
Place the front planel Roofing bolt & nut 5X16 :
-
Place the top :
-
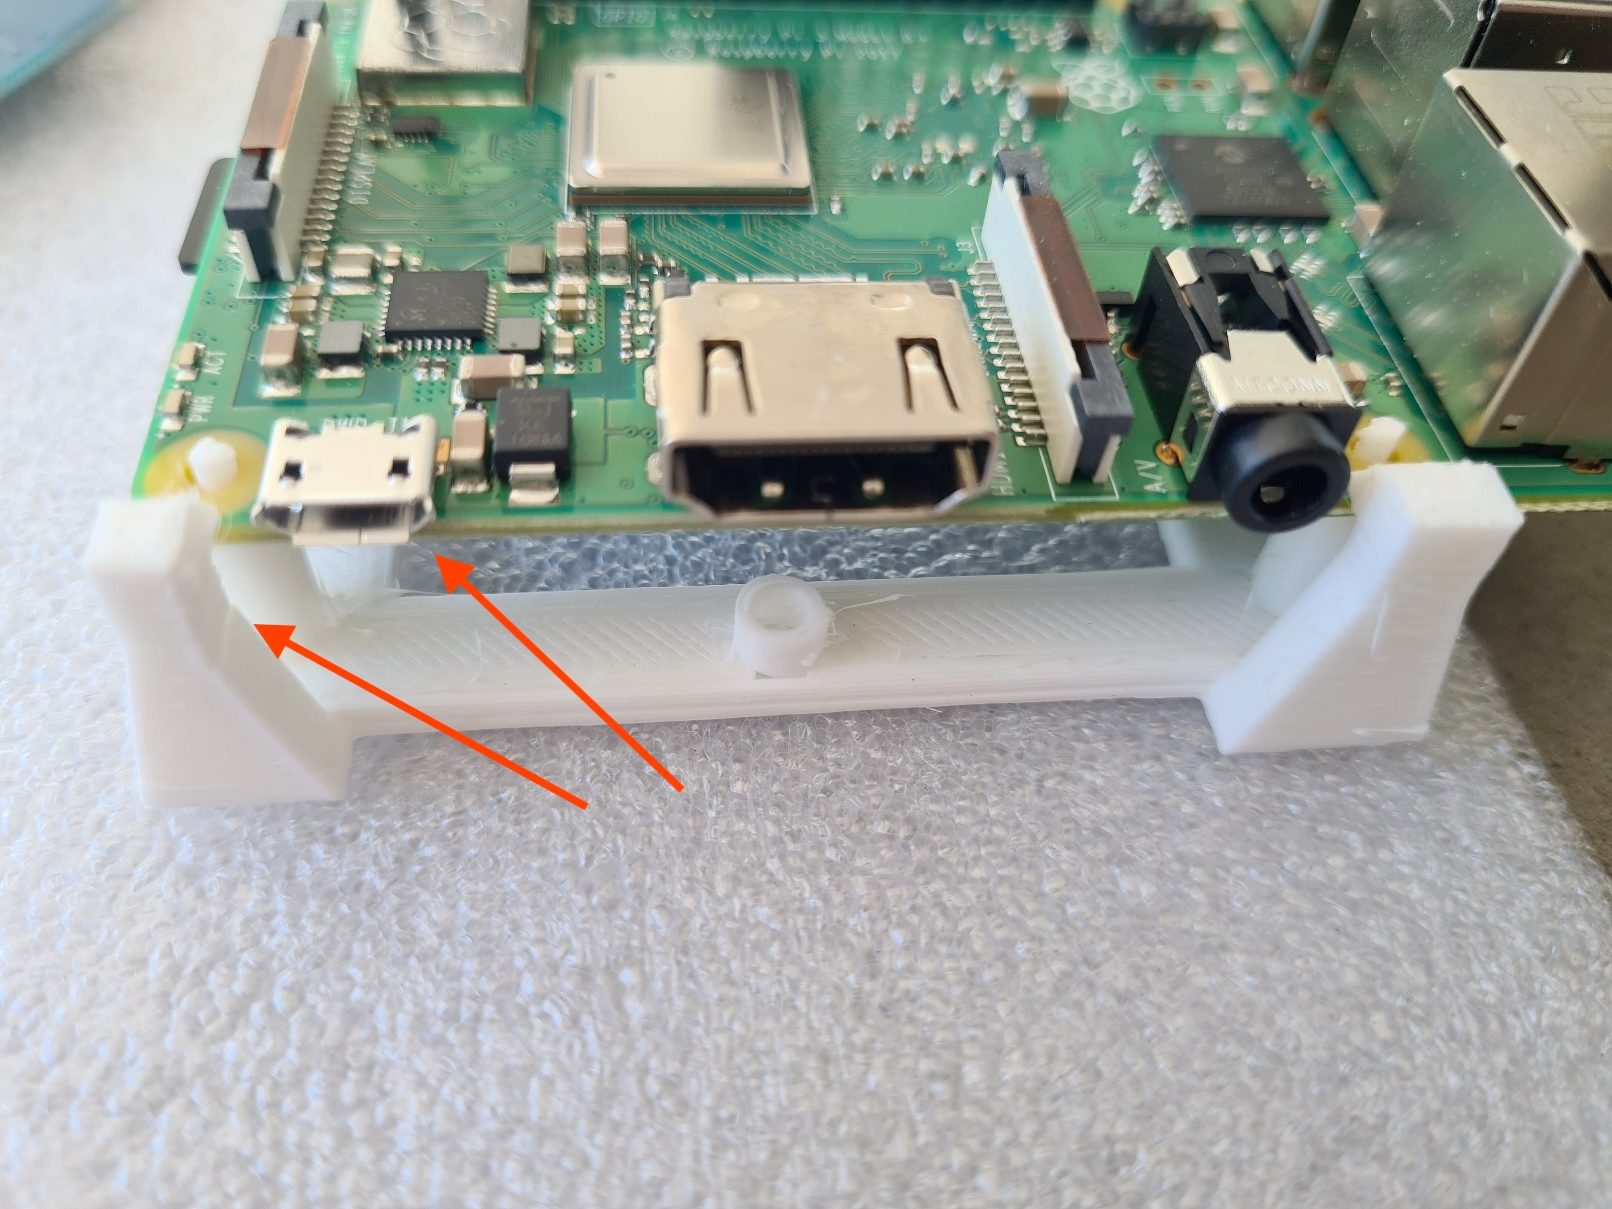
Fix the raspberry support and the NFC card using the 2X10 screws and the spacers :
-
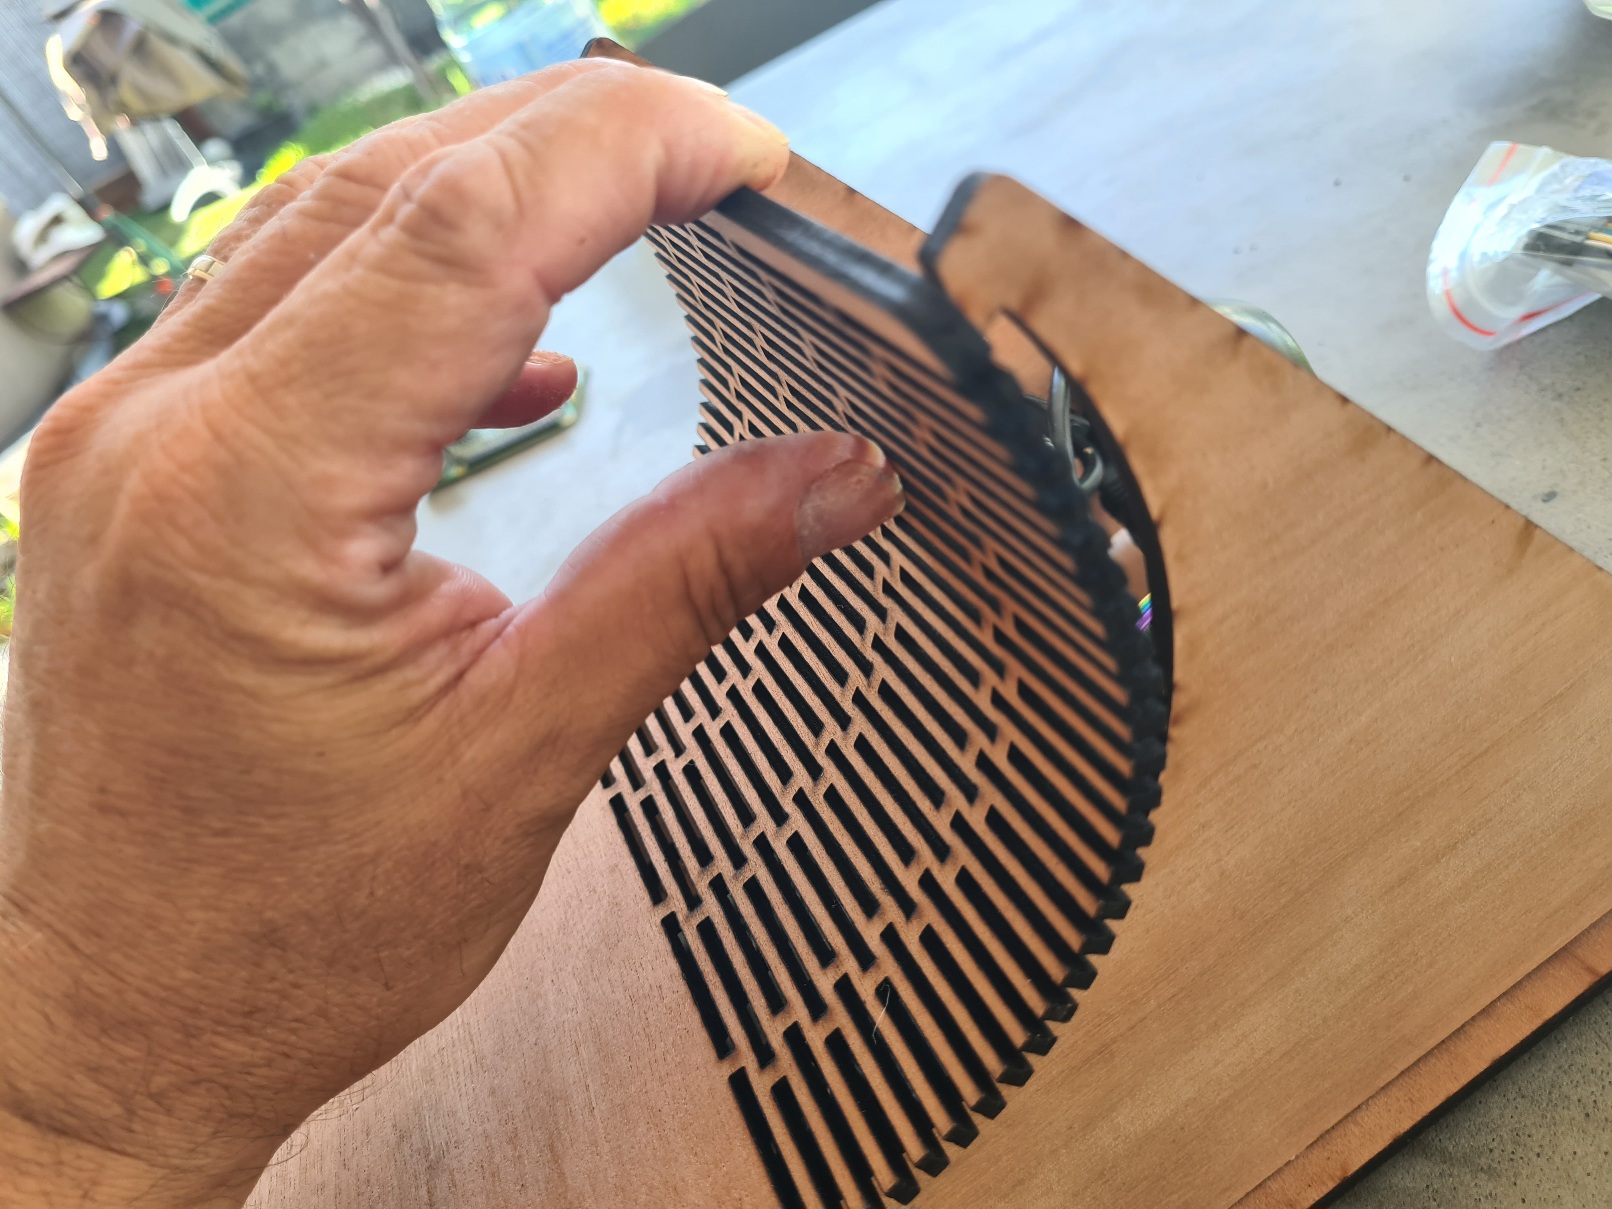
like for the 7 inch Slightly bend the part of the back face to relax the part that will be curved.
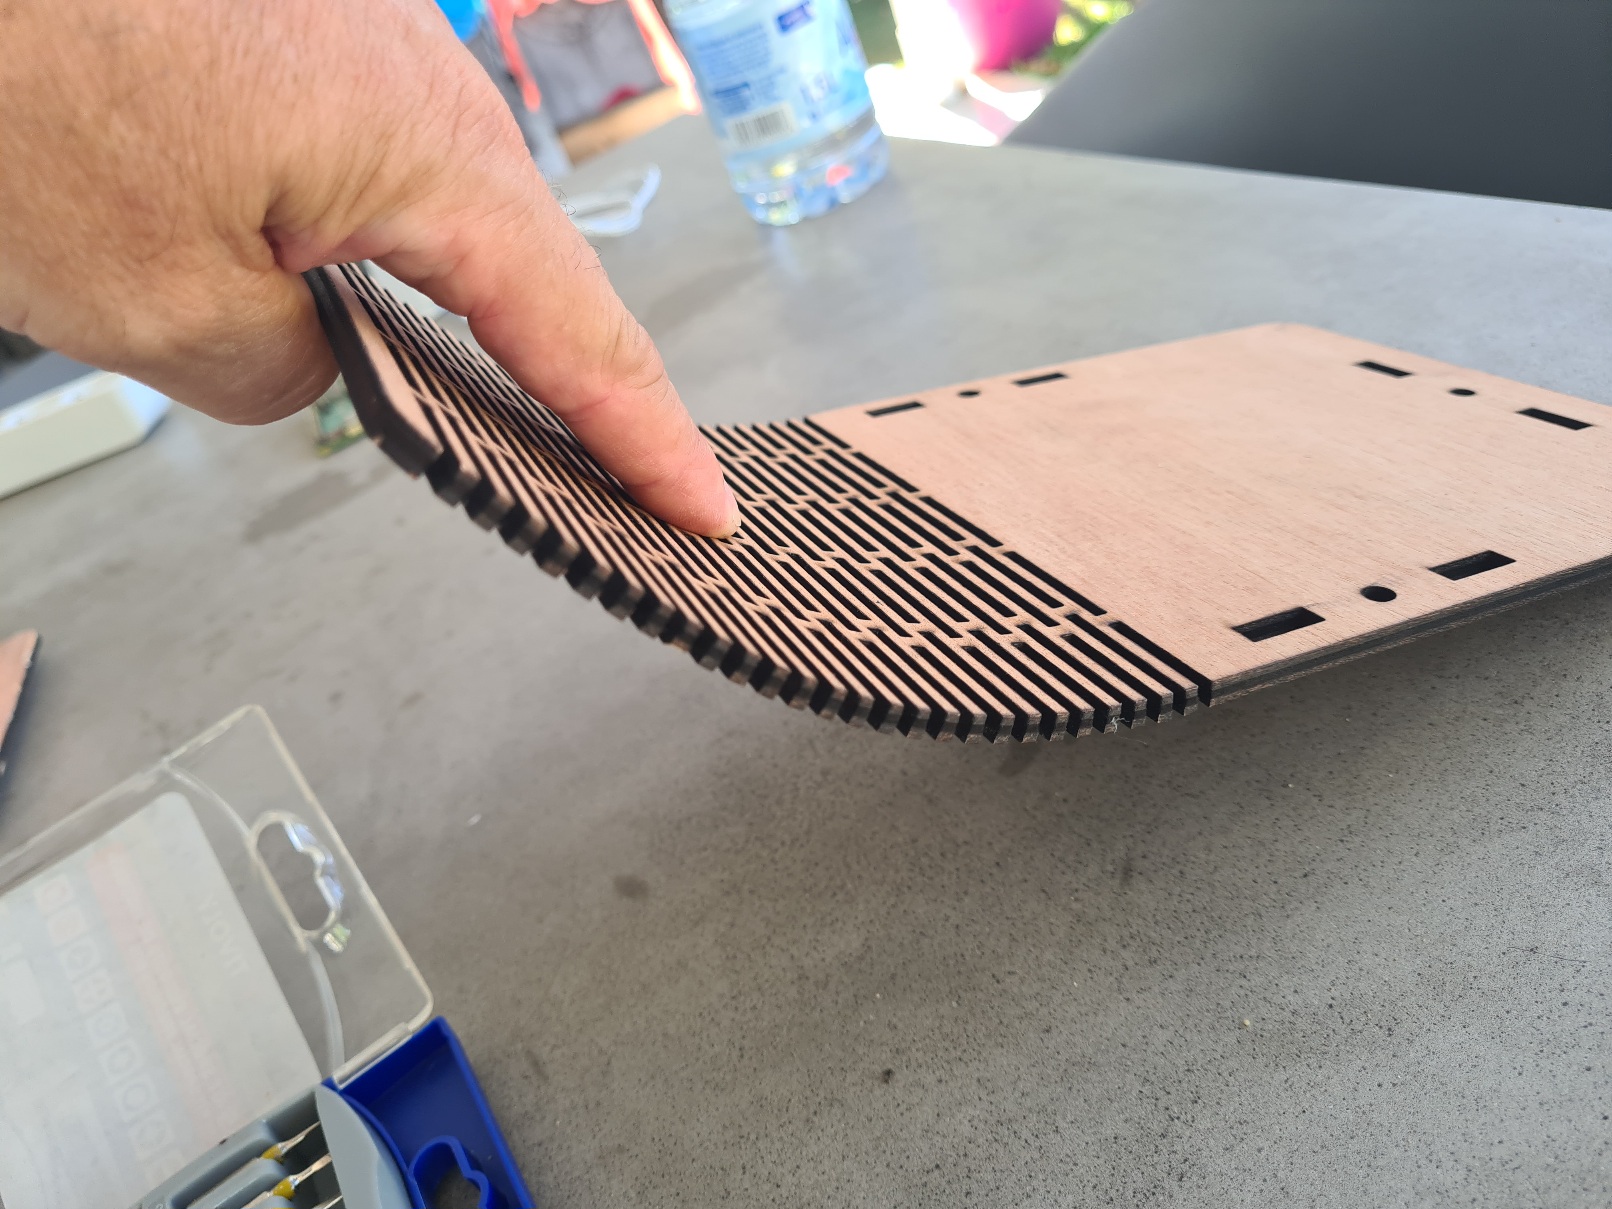
-
Place the rear panel in the notches (the sides must be able to move slightly, if you have tightened the Roofing bolt & nut 5X16 too much, loosen them slightly).
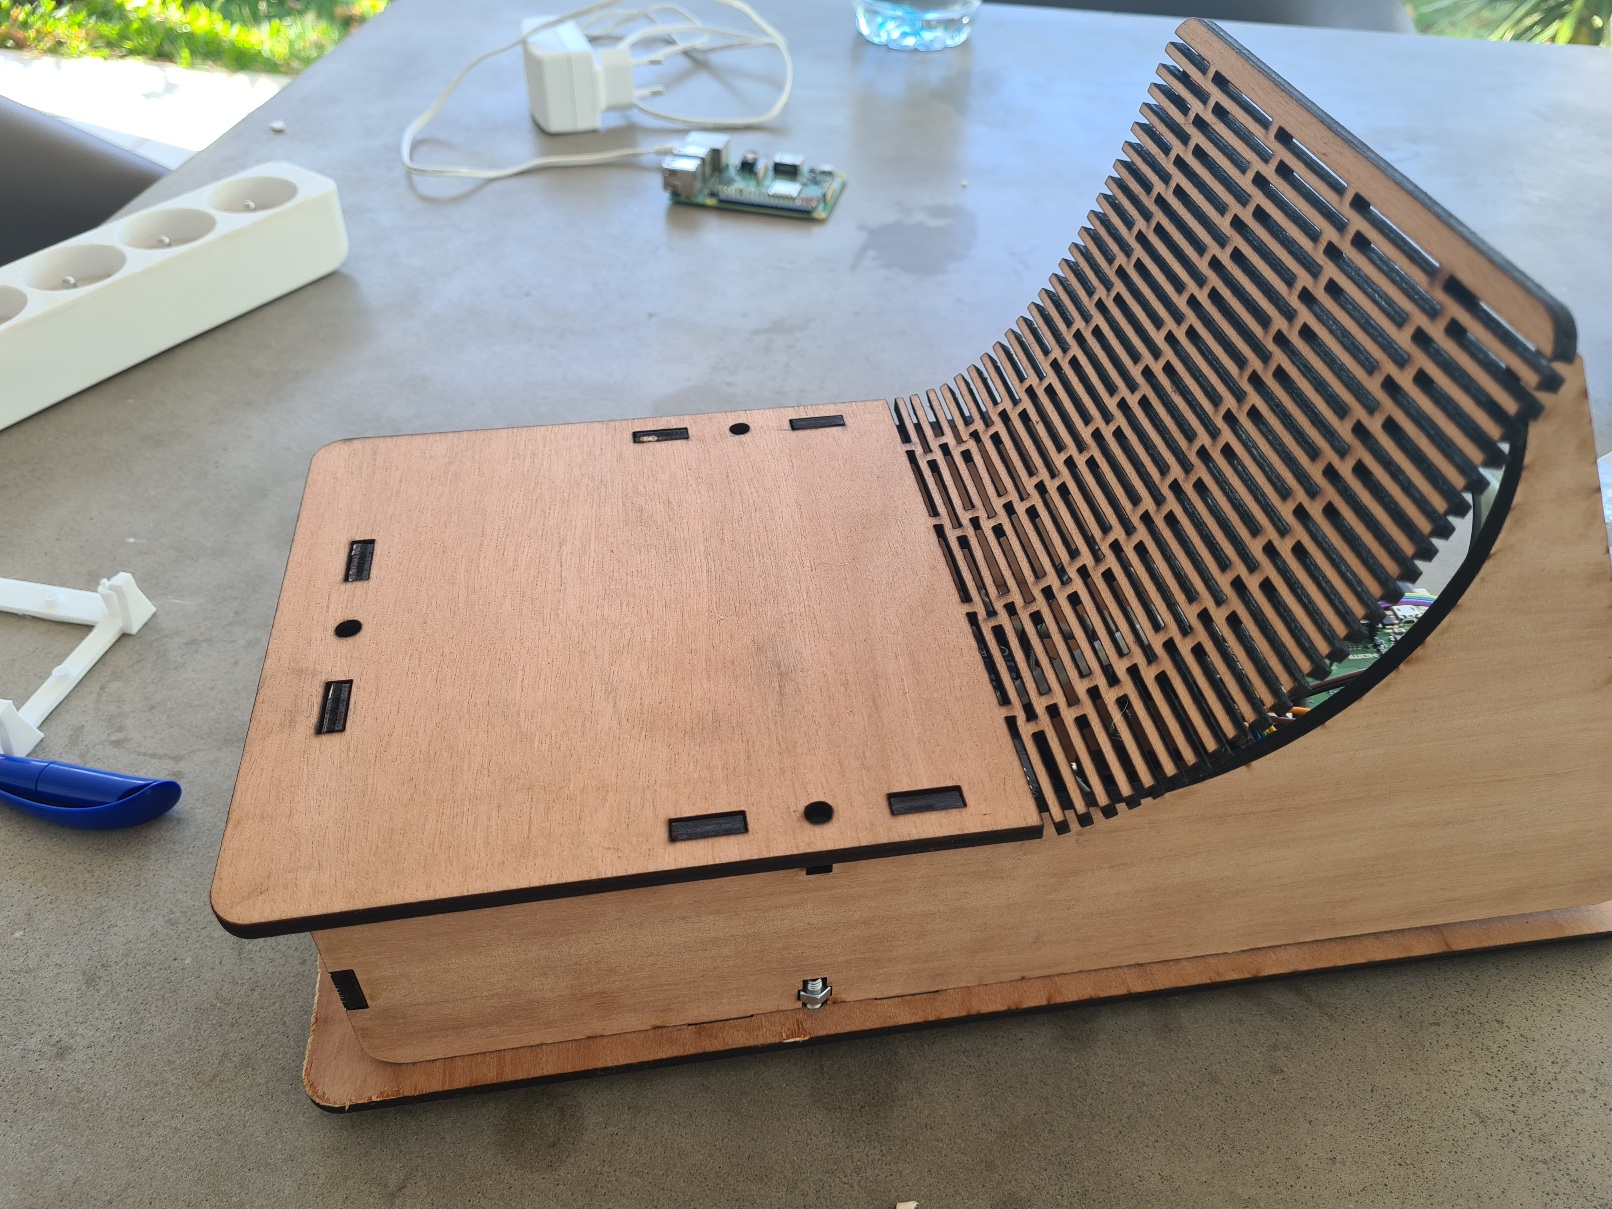
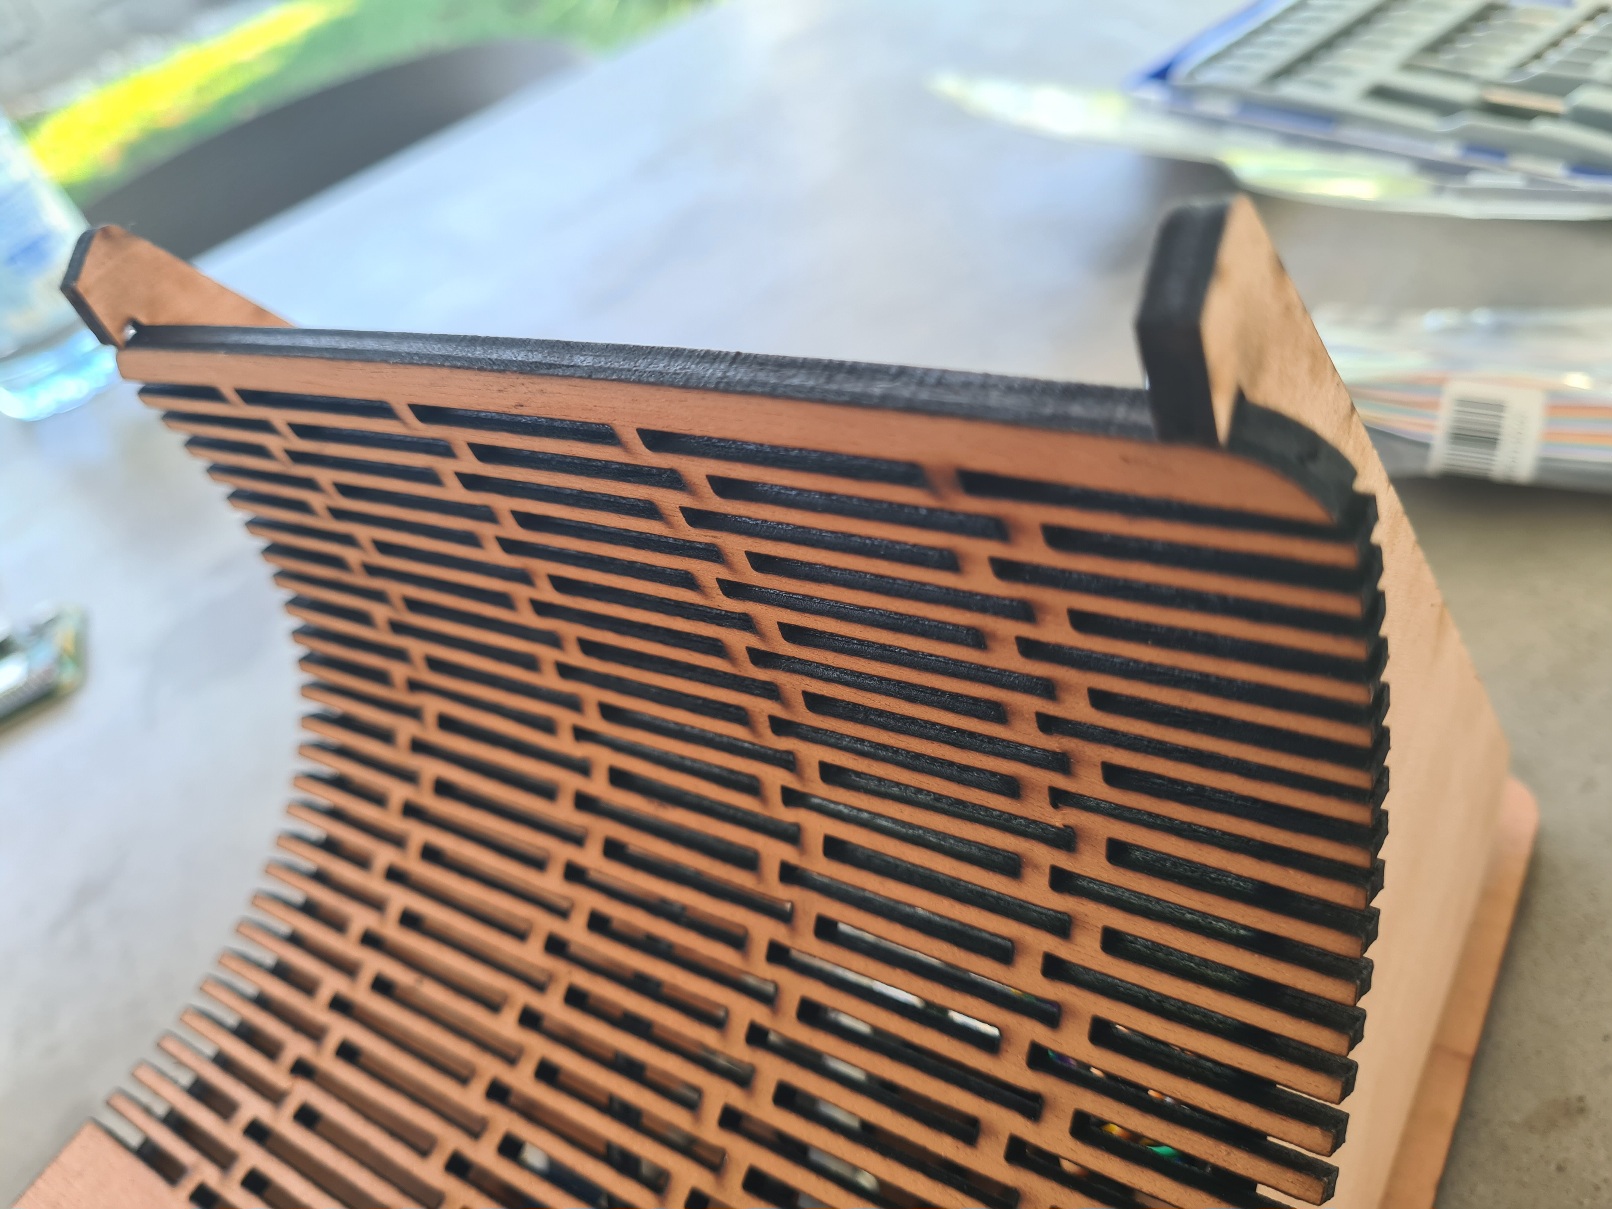
-
Position the curved part of the rear face, you will have to force a little, but be careful not like a barbarian :)